
Asphalt shingles are one of the most popular roofing materials for homeowners in the Philippines. Known for their durability, cost-effectiveness, and aesthetic appeal, asphalt shingles can protect your home for many years if installed properly.
Whether you’re building a new home or replacing an old roof, proper asphalt shingle installation is key to getting the most out of this material. A well-installed shingle roof can withstand heavy rains, strong winds, and the tropical climate of the Philippines.
In this guide, we’ll share essential tips for installing asphalt shingles, common mistakes to avoid, and expert advice to ensure your roof stays strong and beautiful for years to come.
What You Need Before Starting Asphalt Shingle Installation
Before you begin installing asphalt shingles, it’s important to have the right tools and materials ready. Proper preparation will ensure a smooth and efficient installation process.
Tools You Will Need:
• Roofing hammer
• Utility knife
• Roofing nails
• Chalk line
• Tape measure
• Roofing adhesive (sealant)
• Ladder or scaffolding
• Safety gear (gloves, helmet, and harness)
Materials:
• Asphalt shingles
• Roofing underlayment
• Drip edge
• Starter strip shingles
• Ridge caps
• Flashing
Step-by-Step Asphalt Shingle Installation Tips
Here are detailed steps to ensure proper asphalt shingle installation.
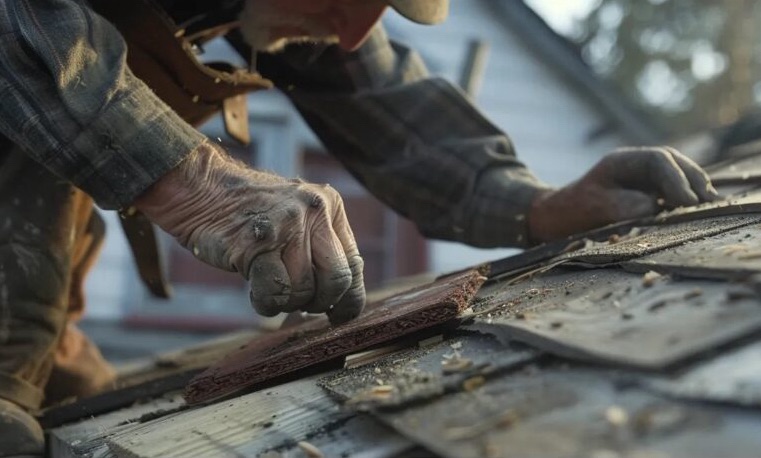
1. Prepare the Roof Deck
Before installing shingles, ensure the roof deck is clean, dry, and free of debris.
• Remove any old roofing material or damaged wood.
• Inspect the deck for signs of rot or damage and replace any weak sections.
• Ensure the surface is flat and smooth to provide a stable foundation for the shingles.
2. Install Drip Edge
A drip edge prevents water from getting under the roofing materials and damaging the structure.
• Start at the edges of the roof.
• Nail the drip edge along the eaves and rakes, ensuring it slightly overhangs the roof edge.
3. Lay Roofing Underlayment
Roofing underlayment acts as a moisture barrier to protect the roof deck.
• Start from the bottom of the roof and work your way up.
• Overlap each row of underlayment by at least 4 inches to prevent leaks.
• Secure it with staples or roofing nails, ensuring it lies flat without wrinkles.
4. Install Starter Strip Shingles
Starter strip shingles are essential for preventing water from seeping under the shingles at the eaves.
• Cut the tabs off the shingles to create a straight edge.
• Install the starter strip along the edge of the roof, ensuring it slightly overhangs the drip edge.
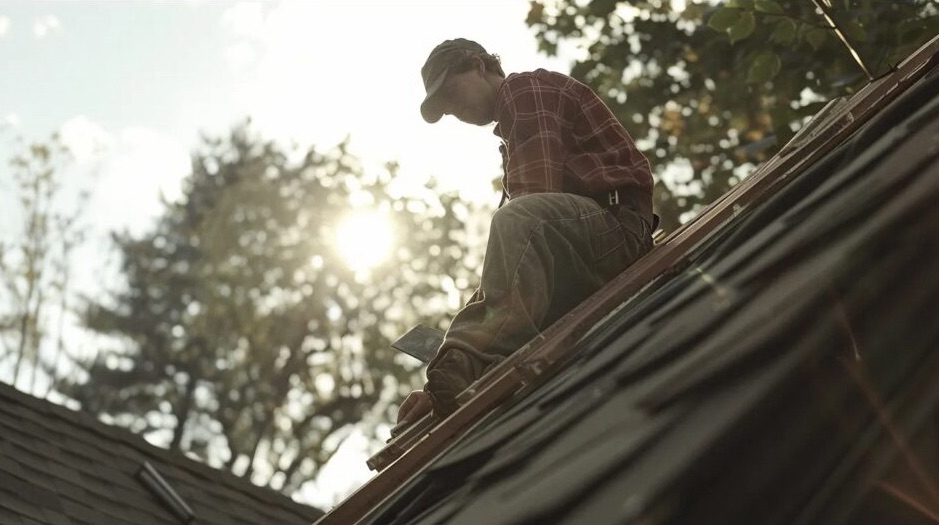
5. Begin Installing Asphalt Shingles
• Start at the bottom edge of the roof and work upward.
• Place the first row of asphalt shingles over the starter strip. Align them carefully for a straight line.
• Use roofing nails to secure each shingle. Place nails about 1 inch above the cutouts (nail line) and ensure they are evenly spaced.
• Overlap each row of shingles by about half the width of a shingle to create a watertight barrier.
• Use a chalk line to guide you and ensure straight rows.
6. Install Flashing Around Valleys and Roof Edges
Flashing is important for areas where the roof meets walls, chimneys, or valleys. It prevents leaks in these vulnerable spots.
• Place metal flashing in valleys and around vents, chimneys, and skylights.
• Nail it securely and seal the edges with roofing adhesive.
7. Install Ridge Cap Shingles
Ridge cap shingles protect the peak of the roof and provide a clean, finished look.
• Bend ridge cap shingles over the roof peak.
• Nail them down securely, overlapping each piece for maximum protection.
Common Mistakes to Avoid When Installing Asphalt Shingles
Even small mistakes can lead to big problems when it comes to roofing. Here are common mistakes to avoid during asphalt shingle installation:
• Improper Nail Placement: Nailing too high or too low can cause shingles to come loose. Always nail along the designated nail line.
• Not Using Underlayment: Skipping underlayment leaves the roof deck exposed to moisture, leading to leaks.
• Poor Overlapping: Shingles must overlap properly to ensure water doesn’t seep through the gaps.
• Not Sealing Flashing: Failing to seal flashing around valleys, chimneys, or vents can lead to water leaks.
• Skipping Starter Strips: Without starter strips, water can seep under the first row of shingles.
Benefits of Proper Asphalt Shingle Installation
When done correctly, asphalt shingle installation provides long-lasting benefits for your home:
• Durability: Asphalt shingles can last up to 20-30 years when installed properly.
• Weather Resistance: Proper installation protects your home from heavy rain, strong winds, and UV exposure.
• Energy Efficiency: A well-installed roof can help regulate indoor temperatures, reducing energy bills.
• Aesthetic Appeal: Asphalt shingles come in a variety of colors and styles to enhance your home’s appearance.
Comparison of Asphalt Shingles vs. Other Roofing Materials
Here’s how asphalt shingles compare to other common roofing materials:
Cost
Asphalt Shingles: Affordable
Metal Roofing: Expensive
Clay Tiles: Moderate to Expensive
Lifespan
Asphalt Shingles: 20-30 years
Metal Roofing: 40-70 years
Clay Tiles: 50+ years
Installation
Asphalt Shingles: Easy and Quick
Metal Roofing: Requires professionals
Clay Tiles: Heavy and time-consuming
Maintenance
Asphalt Shingles: Low
Metal Roofing: Low
Clay Tiles: Moderate
Weather Resistance
Asphalt Shingles: Good
Metal Roofing: Excellent
Clay Tiles: Excellent
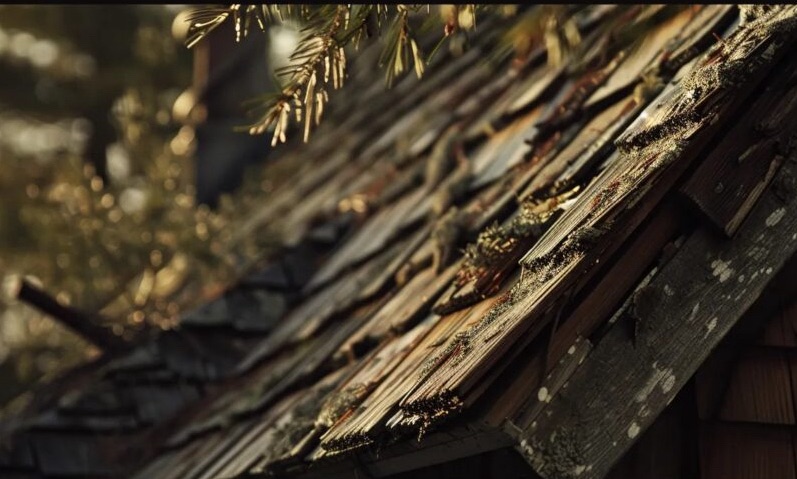
Tips for Maintaining Your Asphalt Shingle Roof
To make sure your asphalt shingle roof lasts as long as possible, regular maintenance is essential:
• Inspect Your Roof Annually: Check for loose, missing, or damaged shingles and repair them immediately.
• Clean Debris: Remove leaves, twigs, and dirt from the roof surface and gutters to prevent water buildup.
• Trim Overhanging Branches: Prevent branches from rubbing against or falling on the roof during storms.
• Watch for Algae or Moss: In humid climates, moss and algae can grow on shingles. Clean them using a gentle roof cleaner.
• Seal Small Leaks: Use roofing adhesive to fix small cracks or leaks before they worsen.
Conclusion: Ensuring Long-Lasting Asphalt Shingle Installation
Proper asphalt shingle installation is critical for creating a roof that is strong, weather-resistant, and long-lasting. By following the right steps and avoiding common mistakes, you can enjoy the benefits of a durable and attractive roof for decades.
Whether you’re installing shingles yourself or hiring a professional contractor, preparation and attention to detail are key.
If you’re ready to upgrade your roof with high-quality asphalt shingles, contact our team of trusted Filipino roofing contractors today. We’ll ensure a smooth installation process so your home stays protected and beautiful for years to come!